How to Wax and Strip Floors Like a Pro
Keeping your floors clean and in good shape is essential for any business. Floors add to a space’s appearance and must withstand many people walking on them, which can cause damage.
To ensure your floors look nice, you must take care of them often. This includes waxing and stripping the floors. These steps help keep the floor safe from harm, make it last longer, and look neat.
When we wax and strip floors, we’re putting on new finish layers or removing old ones. Stripping removes all the old wax and finishes built up over time, while waxing applies a fresh protective coat. Even though these jobs might sound challenging at first glance, they become much easier to handle following some simple do’s and don’ts. In this blog post, we are going to share some critical tips for when you’re working on keeping your floors shiny through proper waxing and stripping techniques.
We’ll go over what you should (and shouldn’t) do so you can get great results without too much hassle. By paying attention to these pointers, you’ll be able to work smarter and ensure that those commercial spaces have clean, long-lasting, and well-guarded floors. Ready? Let’s jump right into it!
Essential Guidelines for Waxing and Stripping Floors
When stripping and waxing floors, paying close attention to the little things is critical. Following the proper steps can get great results while keeping your floors safe from harm.

1. Identify the Type of Flooring Before Starting
Before you start waxing and stripping, it’s essential to know what kind of floor you’re dealing with. Each flooring type needs unique products and ways to do the job correctly. For instance, hard floors like vinyl, tile, or hardwood need different stripping solutions than carpeted areas. A thorough cleaning should also be done before the stripping and waxing to ensure the best results.
By figuring out your floor type first, you can also decide how tough you must be during the stripping process without messing up your floors. Some types are more delicate and could be ruined by strong chemicals or rough methods. Knowing exactly what your floor requires means using just the right stuff for an excellent finish while keeping everything in shape.
2. Don’t Use Harsh Chemicals on Sensitive Surfaces
Using solid cleaners or powerful solvents can mess them up for good when dealing with floors that don’t take well to rough treatment. It’s super important not to use these kinds of harsh substances when you’re doing the waxing and stripping process. They can do more than remove the old finish; they might also strip away the floor’s protective layer, leaving your floor open to scratching, stain, or discoloring from excess liquid.
On the other hand, it’s a smart move to choose gentler options made just for sensitive surfaces during this stripping process. These milder solutions are crafted carefully so they can clean off the old finish without causing any damage. By choosing these safer products for waxing and stripping, you help keep your floors safe from harm and ensure they last a long time.

3. Do Test a Small Area Before the Full Application
Before you start using the stripping solution on your whole floor, it’s essential to try it out on a small part first. Doing this lets you see how well the solution works and determine how long you must stay on for the best results. Also, testing a small spot lets you catch any problems or bad reactions that might pop up.
This is especially important if you use a floor scrubber, as you must determine the appropriate solution for each section, typically around 100 square feet. To try out a small area, just put a little bit of the floor stripper on a spot that’s not too noticeable. Let it sit there for as long as suggested on its label. After waiting, grab something like a scraper or putty knife to remove the solution and check how things look.
If everything from your test patch looks good, then go ahead and use it all over your floor with peace of mind. But if anything seems off or doesn’t turn out right, think about changing what you’re doing or getting help from someone who knows their stuff when stripping floors, including correctly cleaning the baseboards with a baseboard stripper/cleaner.
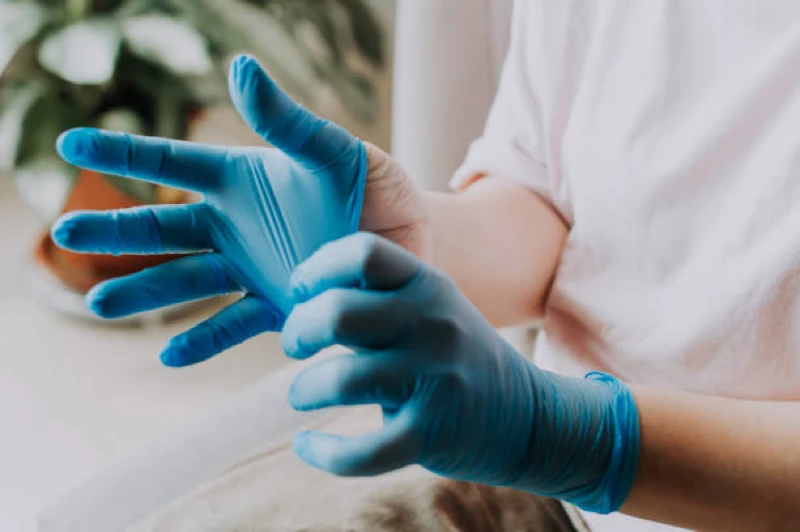
4. Don’t Skip Safety Measures for Yourself and the Environment
When you’re getting ready to wax and strip floors, it’s important to consider keeping yourself and the planet safe. Before diving in, ensure you have all the right gear, like rubber gloves, goggles, and clothes that cover up well to keep your skin and eyes safe from any harsh stuff or bits flying around.
In addition, think about what impact the products you’re using might have on our environment. Some floor stripping solutions can be pretty nasty for nature if they aren’t thrown away just right. Always follow the instructions for tossing them out safely, and try picking options that are nicer to our earth when you can.
Also, having access to clean water is critical while doing this job. You’ll need it to rinse off any leftover gunk so everything stays nice and tidy without spreading germs around. Make sure plenty of clean water is available from start to finish during your waxing and stripping work. Upkeep cleanliness is a must.
5. Do Follow Manufacturer Instructions for Products and Equipment
To get the best results and keep your floors safe, follow the manufacturer’s instructions for cleaning products and tools. Each cleaner or tool might have its own set of rules for how to use it, including how long you should leave it on and how to take it off.
Before you wax or strip your floors, ensure you’ve read everything the manufacturer suggests. This means knowing how much product to mix with water, the right way to apply it, and which tools are recommended.
By following these steps carefully, you’re more likely going in the right direction towards getting those top-notch results. Consult the MSDS sheets for the stripping solution and follow the manufacturer’s instructions for the concentrated floor wax stripper, which typically require a specific mixing ratio of 1 quart to 5 gallons of water.
In addition, picking out the proper gear is crucial. The company that made your floor care products may also tell you which floor buffer or scrubber works best and what pads or brushes should be used. Choosing wisely here can smooth out your whole stripping process, making waxing and buffing much easier. Some floor scrubbers even include squeegee attachments, which can replace the wet vacuum and make the process even more efficient.
6. Don’t Overlook the Importance of Proper Ventilation
When waxing floors or removing old finishes, ensuring enough fresh air is moving around is crucial. This keeps everyone safe because the chemicals used can emit nasty fumes that aren’t good to breathe in, especially if there are a lot of them or you’re around them for too long.
Before starting the job, crack open windows and doors and maybe set up fans to keep the air flowing. This will prevent bad smells from the chemicals from building up where you’re working.
In addition, having good airflow matters when waiting for the floor finish to dry. It helps everything dry faster and more evenly, meaning your floor will look great with a strong layer protecting it. Just check the instructions with your products about how long things need to dry and how much airing out they need so everything turns out just right.
Best Practices for Stripping Floors
In addition to the key rules, you should follow some top tips for stripping floors if you want the best outcome.
1. Preparing the Floor and Work Area
Before stripping the floor, getting everything ready and ensuring the area is clear are vital steps. Here’s what to do:
- Take out all furniture, rugs, and anything not tied down so you have plenty of room to work.
- Please remove any dust or bits on the floor with a dry vacuum so it’s nice and clean.
- Put a plastic liner in your mop bucket. This keeps the stripping solution where it should be and stops messes.
- Set up wet floor signs around where you’re working. This will let everyone know to be careful.
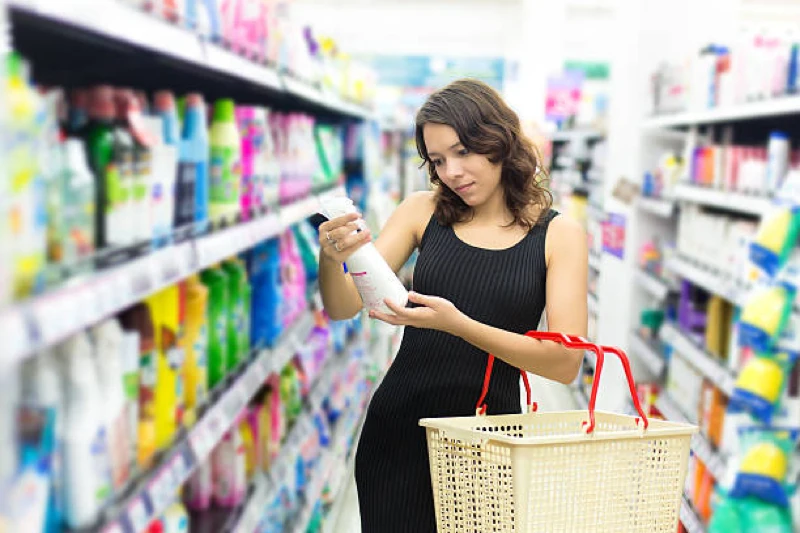
2. Selecting the Right Stripping Solution
Picking a good stripping solution is critical to getting the job done without messing up your floor. Here’s what you should do:
- Start by determining what kind of floor you’re working with so the stripping solution won’t harm it.
- With that in mind, check out what the maker of your flooring suggests and choose a matching stripping solution.
- To avoid damage on delicate surfaces, avoid harsh or scratchy solutions.
- Before going all in, try the stripper on a tiny patch to ensure it works well and doesn’t cause any issues.
3. Techniques for Effective Stripping
It’s critical to pick the proper methods and tools to get the best results when stripping floors. Here are some top tips:
- For a good start, hook up a stripping pad to a floor buffer or scrubber. This helps remove the old finish well.
- In those tricky spots or corners your big machines can’t reach, grab some scrub pads or use a brush instead.
- Please don’t hold back on applying stripper solution across the floor; make sure you give it enough time to sit so that loosening up that old layer becomes easier.
- When scrubbing, use a back-and-forth motion while pressing down hard enough to strip away unwanted dirt but gently enough not to harm your floors.
Sticking with these steps and using items like stripping pads and brushes correctly will create excellent outcomes without much hassle.
4. Troubleshooting Common Stripping Challenges
When you run into problems like uneven stripping or leftover residue, think about tweaking the strength of your stripping solution or how long you let it sit. To help things dry faster and avoid streaks, ensure good airflow.
If sticky bits remain, a putty knife or steel wool can be convenient for gently removing them. You might need a more robust stripping solution for those extra tough spots, but always try it out on a small spot first to see how it goes. And don’t forget, after all that work, to give everything a good rinse and dry off to show off your nicely stripped floor. Open windows and use a fan to circulate air for faster drying time.

Expert Tips for Waxing Floors
Getting that perfect wax finish on your floors is all about using the proper methods and paying attention to the little things. Here are some tips from those who know best:
1. Choosing the Right Wax for Your Floor Type
When picking out the suitable wax for your floors, it’s essential to consider what kind of floor you have. With many people walking on them, some floors get more wear and tear. For those hard surfaces that see a lot of action, you’ll want a wax that can stand up to it all and keep your floor looking good with a solid protective layer. On the other hand, if you’ve got hardwood floors at home, go for waxes that make them look their best without messing them up. By choosing the correct wax based on these factors during the waxing process, your floors will stay shiny and in top shape for longer.
2. Application Techniques for a Flawless Finish
To get that perfect shine when waxing floors, it’s all about how you do it. With a clean mop or applicator, start on a surface without dirt or bits. Put the wax on lightly and evenly across the floor. Take your time and cover one area at a time so you don’t miss any spots. Between layers of wax, please wait for it to dry as long as the instructions say you should. After everything dries, use a buffer to polish the floor until it sparkles gently. Some professionals recommend putting on four or five layers of floor finish for optimum results.
By following these careful steps, you’ll achieve professional-looking results every time. You may need to apply additional coats for a flawless finish.
Cleaning and Mopping Techniques for Waxing
Before waxing, it is crucial to maintain a clean floor. Use a mop with a gentle cleaner to remove dust or debris. Proper cleaning ensures the wax adheres well and provides a long-lasting shine.
Buff for a Perfect Finish
Buffing the floor after waxing can enhance the shine and smoothness of the finish. Use a high-speed buffer to achieve a professional, glossy look.
3. Maintaining Waxed Floors to Extend Durability
Taking good care of your waxed floors is essential to keeping them in top shape and making them last longer. Start by regularly cleaning with a clean mop and a mild cleaner that won’t harm the wax coating. Stay away from strong chemicals that could strip the finish off. Also, if anything spills, clean it up quickly to avoid stains. Proper floor signs should always be put out when the floor is wet to prevent accidents. Sticking to these steps will help your floors stay beautiful for years.
Clean and Mop to Maintain
Regular mopping with a suitable cleaner will help maintain the wax finish. Choose a cleaner that works with waxed floors to avoid damaging the protective layer.
Rinsing After Cleaning
Rinsing the floor with clean water after mopping ensures no cleaner residue is left behind. This step is vital to maintaining the shine and durability of the wax finish.
4. Avoiding Wax Buildup and Discoloration
Keeping your floors looking good is about regular upkeep to prevent wax from piling up and colors from fading. To keep these problems at bay, sticking to a steady cleaning routine with the right stuff is critical. Over time, if too much wax stacks up, your floor might start looking less shiny and even change color a bit. With careful cleaning and using the right way to apply wax, you can keep your floor’s shine as good as new without any ugly extra buildup. Also, using just enough wax and making sure not to use too much liquid when putting it on can help ensure the finish stays even and lasts longer.
Squeegeeing for a Smooth Finish
Using a squeegee during the wax application can help spread the wax evenly and prevent buildup. This tool is handy for ensuring a smooth, consistent finish.
Using the Right Amount of Wax
To prevent buildup and discoloration, avoid using too much wax during application. Follow the recommended amount per gallon of floor space.
Wrapping Up
To wrap things up, it’s essential to stick to the main rules when waxing and stripping floors if you want them to look their best. Figuring out what kind of floor you have is an excellent first step. Then, follow what the maker says carefully because every detail matters here. Keeping your floor looking great is totally doable by doing a deep clean and using the right stuff the way it’s supposed to be used.
Don’t forget that getting advice from pros on which wax to use and how to put it on the right can make all the difference in having a floor that looks awesome and lasts longer. If you keep up with these methods, your floors will stay beautiful for years.

Frequently Asked Questions
Here are some frequently asked questions about stripping and waxing floor:
What are the steps involved in waxing and stripping floors?
Waxing and stripping floors involve preparation, applying wax, allowing it to dry, and buffing for a shine. Stripping starts with removing old wax, cleaning the floor, applying new wax, and buffing to finish. Proper techniques and products are essential for optimal results.
What Are the Signs That a Floor Needs to Be Stripped and Waxed?
When a floor looks dull, loses its shine, shows scratches quickly, and becomes hard to clean, it’s usually a sign that the protective layer is gone. This means the floor could get damaged more easily. By regularly stripping and waxing the floor as part of maintenance, you can avoid having to do big fixes later on.
How Often Should Commercial Floors Be Stripped and Waxed?
How often you strip and wax commercial floors depends on how much foot traffic they get and how clean the place needs to be. Places with many people walking around might need it done more often, while spots that aren’t as busy can go longer between maintenance. It’s a good idea to talk with an expert or set up a cleaning plan that fits your facility’s needs.
Can All Types of Floors Be Waxed?
It’s important to know that not every floor is meant for waxing. For instance, when it comes to hardwood floors, you need the right kind of wax designed just for wood. Other kinds, like concrete flooring, might need a different way to be taken care of. To figure out if your floors can handle being waxed or not, it’s best to talk with an expert or check what the manufacturer suggests.
How Can I Ensure the Longevity of the Wax Finish?
To keep your wax finish looking good for a long time, it’s key to clean carefully and follow the best methods. Make sure you sweep or vacuum regularly, clean up any spills right away, and, from time to time, apply more layers of wax to keep that protective coating strong. By sticking with the correct waxing method and choosing top-notch products, you’ll also help ensure the finish stays durable.
What Are the Environmental Considerations When Stripping and Waxing Floors?
When stripping and waxing floors, it is critical to consider how it affects the environment. It’s best to choose cleaning services that focus on being kind to our planet. Look for green products that don’t harm the environment much. When getting rid of waste materials, ensure you do it correctly by following what your local area says is okay.

For a free quote on professional floor waxing and stripping services, contact Advanced Office Care today! Our team of experts is ready to help you achieve pristine, long-lasting floors for your commercial space.
Call us now at 225-756-3908 or fill out the form below to get started!